Anyway, this is the before:

And the After:


 These were the side-pod getting finished up:
 The greenish brown stuff is body filler with fiberglass strands. It is like body filler, but has a bunch of strength added. This also makes sanding it a bit more tedious.
 After probably 3 hours of sanding and re-applying the "Bondo-Hair".
I would add more pictures, but it would be nothing more than resin and filler dust. Everything is complete, save for the final filler coats.

 I also finished the side pod bottom. I added three layers of chopped strand S-glass to the damaged front.
 I did not want to use body filler on this part. Reason being; I wanted more strength and less chance of anything chipping off due to vibration. I just used resin to "fill" the low spots, and sanded.
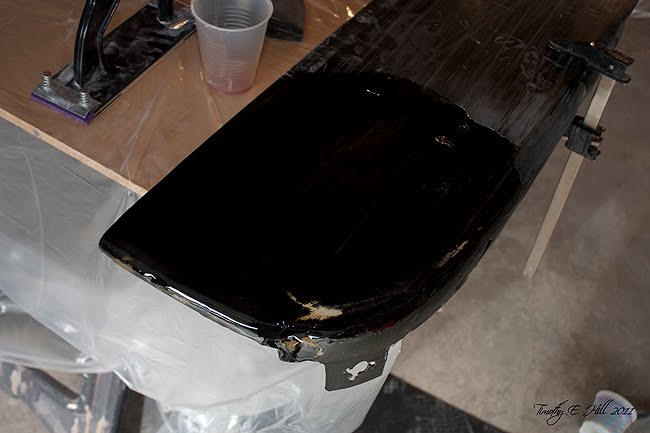 One more skim coat, and this part will be complete.
 The other night, I was adding resin to the engine cover to minimize the use of filler. My niece & nephew were more than happy to sand. Who am I to deprive these kids of fun?
 Leveling the resin.
 After 4 coats of resin, I started the filler.
 After leveling the body work. This side is now ready for the finish coat of filler.
 While sanding, I decided to add a layer of carbon fiber to the rear and center. I am sure that it did not need it, but when is strength ever a bad thing? I will add another layer of fiberglass and it will be complete.
 The first step to the glassing is to lay down a coat of resin. The coat does not need to be thick, but it does need to be even, and does need to penetrate any glass that is exposed.
 After the base coat is down, the glass is layed down and another layer of resin is poured on, and "wet-out", or spread evenly.
 I used a body filler spreader to evenly spread the resin and wet the glass cloth.
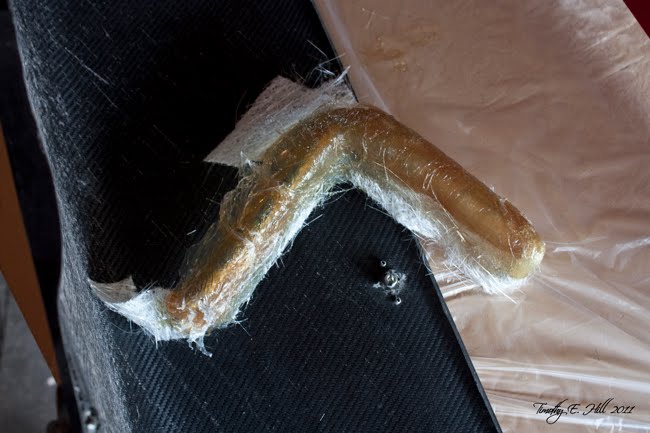
 As for the air inlet, I had to add a piece of s-glass to the inside to cover some holes. The process for this is the same as above. I spread 2 coats of resin over the whole thing to give me a bit of material to sand/shape. Also, I glassed a mounting tab back to the side pod floor. It looks like crap, but that is by design. The more glass and resin you add, the more you can shape to get things right.
 First coat of resin to the engine cover. I will be adding the glass to the underside, but at this time, I just needed to add some strength to the panel.
 This is the side pod bottom that had the core damage. I cut three sections of carbon fiber to fill the core. After it fully cures, I will add a layer or two of s-glass over the carbon fiber, and blend it with the rest of the panel.


 Glass and resin is then added to the plastic covered area, and cured.
 The second layer of resin, I made sure to mix it hot to make it jell really quickly. As you can see, resin and methel ethel ketone peroxide (MEKP) gets hot during the chemical reaction, or curing. THe final temp that I saw from the hot batch was about 135 degrees.
 Cured, and popped from the good side pod:
 The mold buck laying in the damaged side pod:
 While holding the buck to the side pod, you can see the reason I decided to make the mold. Now I just need to do a bit of sanding on the mold, a quick coat of plastic, and then it will be ready.


 And all the parts waiting to get glassed.
 It has been a long time since I last used this very expensive roll of material... I trust that everyone who is reading this know what Carbon Fiber is. I will be using this to reinforce some areas that are structural mounts on the body, as well as the nose cone.


 The rear mounting location is the two holes that are at the bottom.
 After grinding away some glass, I found the wood substrate was damaged pretty badly. I ground out the damaged wood, and will build the area back up with carbon fiber, as it is a structural mount.


